
Before you start
Parts and printed components
Use the upstream bill of materials and printing guidance to source the hardware. If you are not printing your own parts, RobotEd offers the complete kit and the printed-parts pack.
Software
Install LeRobot before configuring the arms. The Feetech extra is required for the serial bus motor tools used below.
pip install -e ".[feetech]"Motor plan
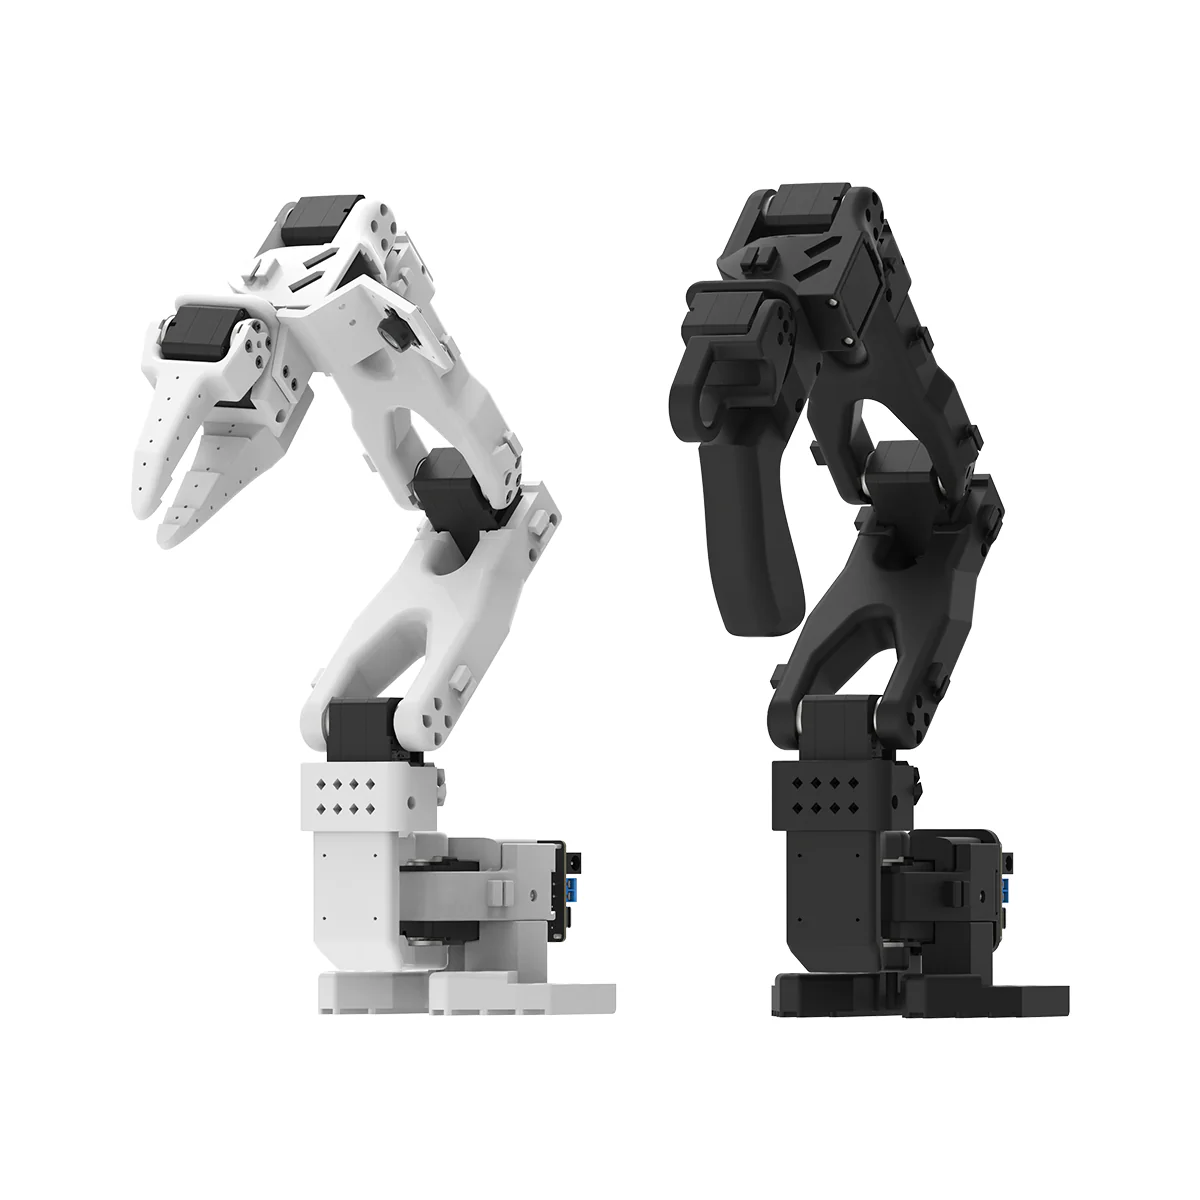
The follower uses six STS3215 motors. The leader uses its specified motor gearing so it can support itself while remaining easy to move by hand. Keep the motors labelled by axis during assembly.
| Leader-arm axis | Motor | Gear ratio |
|---|---|---|
| Base / shoulder pan | 1 | 1 / 191 |
| Shoulder lift | 2 | 1 / 345 |
| Elbow flex | 3 | 1 / 191 |
| Wrist flex | 4 | 1 / 147 |
| Wrist roll | 5 | 1 / 147 |
| Gripper | 6 | 1 / 147 |
Prepare the printed parts
Remove support material cleanly before fitting hardware. A small screwdriver can help lift support away from tight recesses. Before enclosing each motor, connect its 3-pin cable so the final daisy chain can be routed cleanly.
Assembly
Build the arm, joint by joint
Work through the mechanical sequence in order. The videos are the visual reference for orientation and fastener placement; pause after each stage to make sure the joint moves freely.
Install joint 1
- Seat motor 1 in the base and secure it with four M2×6 screws.
- Fit the first motor holder, then install the two horns and secure the upper horn with its M3×6 screw.
- Mount the shoulder structure and its holder, checking that the cable path remains clear.
Install joint 2
- Lower motor 2 into the shoulder from above and secure it with four M2×6 screws.
- Install both horns, then fasten the upper horn.
- Attach the upper arm using four M3×6 screws on each side.
Install joint 3
- Install motor 3 with four M2×6 screws.
- Fit its horns and secure one with the horn screw.
- Attach the forearm with four M3×6 screws on both sides.
Install joint 4
- Slide the fourth motor holder into position.
- Insert motor 4 and secure it with four M2×6 screws.
- Install its horns and tighten the horn screw before continuing.
Install joint 5
- Fit motor 5 into the wrist holder and secure the front mounting screws.
- Install the wrist horn and its horn screw.
- Connect the wrist assembly to joint 4 with four M3×6 screws on each side.
Fit the end effector
Follower: gripper
- Fasten the gripper to the wrist motor horn.
- Install the gripper motor with its side mounting screws.
- Fit the horns, then attach the gripper claw.
Leader: handle
- Mount the leader holder to the wrist.
- Attach the handle to motor 5.
- Install the trigger motor, horn, and follower trigger.
Configuration
Identify the USB ports
Connect each MotorBus to your computer and power it. Run the port finder, follow its disconnect prompt, and write down which device path belongs to the leader and which belongs to the follower.
lerobot-find-portmacOS
Your ports normally look like /dev/tty.usbmodem…. The tool identifies the relevant device after you unplug the requested bus.
Linux
Ports commonly appear as /dev/ttyACM0 and /dev/ttyACM1. You may need permission before the tools can access them.
sudo chmod 666 /dev/ttyACM0
sudo chmod 666 /dev/ttyACM1
Assign IDs and baud rates
Every motor on a bus needs its own ID and all devices must use the same baud rate. Configure one motor at a time: connect only the motor requested by the script, never a daisy-chained group. These settings are retained by the motor, but reused motors may need to be set up again.
Follower arm
lerobot-setup-motors \
+  --robot.type=so101_follower \
+  --robot.port=/dev/tty.usbmodem…
Leader arm
lerobot-setup-motors \
+  --teleop.type=so101_leader \
+ --teleop.port=/dev/tty.usbmodem…Calibrate both arms
Calibration lets the leader and follower report matching positions for the same physical pose. Start with each joint centred in its safe range; when prompted, move each joint through its full range smoothly and without forcing it.
Follower
lerobot-calibrate \
+  --robot.type=so101_follower \
+  --robot.port=/dev/tty.usbmodem… \
+  --robot.id=my_follower_arm
Leader
lerobot-calibrate \
+  --teleop.type=so101_leader \
+  --teleop.port=/dev/tty.usbmodem… \
+  --teleop.id=my_leader_arm
Need a component?
Keep building with RobotEd
The original SO-101 design files remain open source. RobotEd provides physical parts, preparation, and support for builders who want a faster path from files to a working arm.