
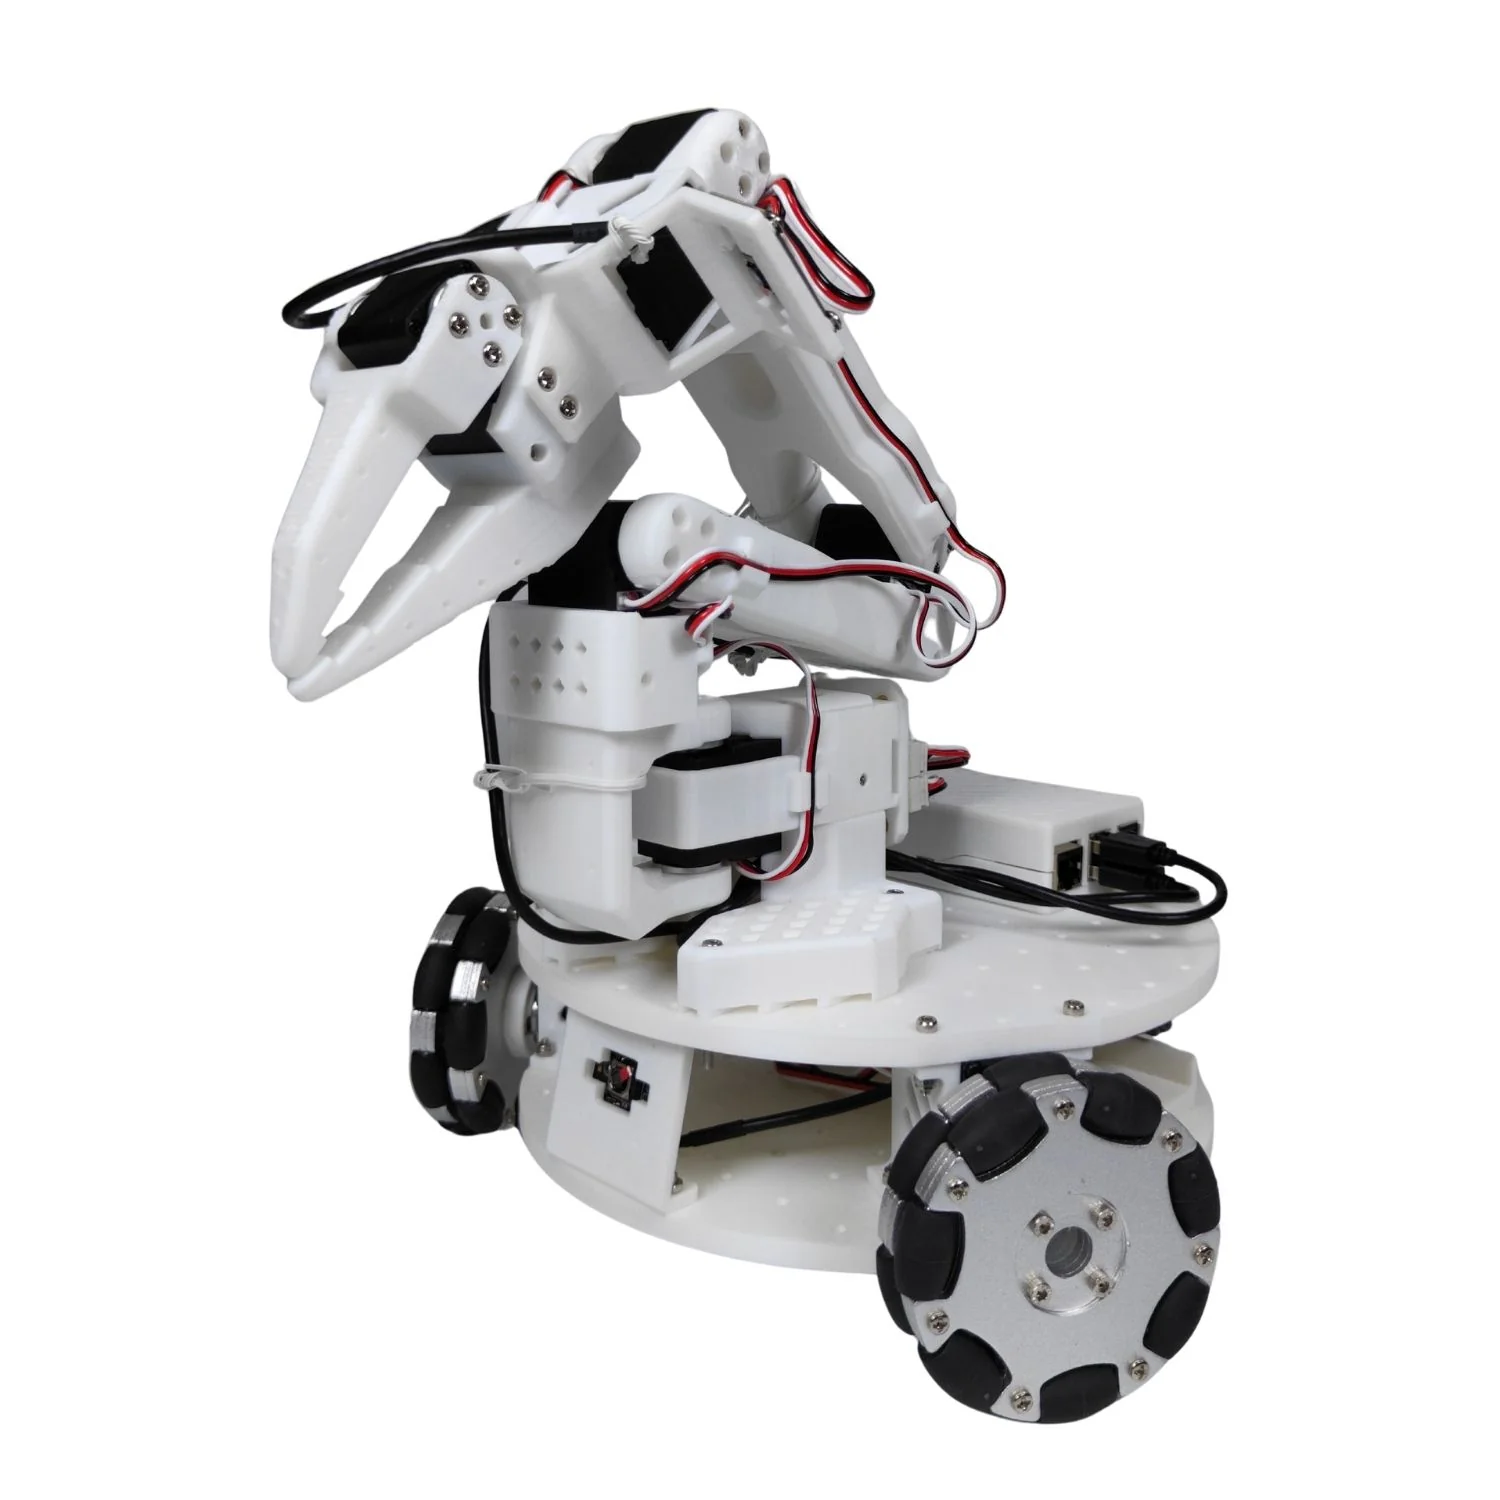
Source the parts
LeKiwi is a three-wheel omnidirectional mobile base that works with the SO-101 ecosystem. It needs the printed chassis pieces, drive hardware, motors, electronics, a Raspberry Pi, power components, and an SO-101 setup appropriate to your chosen configuration.
RobotEd print pack
The RobotEd LeKiwi pack covers the printed structural components only. It does not include the arm, servos, Pi, cameras, wheels, battery, electronics, or fasteners.
View Print Pack →Official build references
Use the upstream repository and its print guidance for the current bill of materials, hardware revision, and assembly details.
Raspberry Pi
Install software on the Pi
1. Install the operating system
Flash a supported Raspberry Pi OS image, boot the Pi, and apply its pending system updates. Use a stable network connection and record the Pi hostname or IP address before moving on.
2. Set up SSH
Enable SSH so the Pi can be configured from your laptop or desktop. Confirm the IP address and verify that you can connect before installing robot software.
hostname -I
ssh <your_pi_user_name>@<your_pi_ip_address>
3. Install LeRobot
Install the LeRobot environment with the LeKiwi extras on the Pi. This supplies the robot-side tools and dependencies used by the mobile base.
pip install -e ".[lekiwi]"Install LeRobot on your computer
Set up a matching LeRobot environment on the computer you will use to configure, teleoperate, record datasets, train models, or evaluate policies. The host and Pi should run compatible LeRobot versions.
pip install -e ".[lekiwi]"Mechanical and electrical setup
Assemble and connect the base
Complete the official mechanical build before software configuration. Route motor wiring without pinch points, verify the wheels move freely, and keep the robot supported so it cannot drive away during first power-on.
Motor board
Find the correct serial port
Connect the motor board over USB and run the port finder. The device path it returns is used by the motor setup and calibration commands.
lerobot-find-portOn macOS, the path normally starts with /dev/tty.usbmodem. On Linux it is commonly /dev/ttyACM0 or similar; grant serial-port access if your system requires it.
Configure the motors
Each bus motor needs the expected ID and a shared baud rate. Follow the interactive setup tool exactly: connect only the motor it asks for, configure it, then move to the next motor. Do not configure a daisy-chained group at once.
lerobot-setup-motors \
+  --robot.type=lekiwi \
+  --robot.port=/dev/tty.usbmodem…
If communication fails, check the power supply, USB data cable, controller connection, individual motor cable, and that only the intended motor is attached during setup.
Calibration
Calibrate the base and arm
Calibrate the LeKiwi base after motor setup, then calibrate the SO-101 leader arm used for teleoperation. Use a unique ID for each physical robot so calibration data is not mixed between devices.
LeKiwi base
lerobot-calibrate \
+  --robot.type=lekiwi \
+  --robot.id=my_kiwi
SO-101 leader
lerobot-calibrate \
+  --teleop.type=so100_leader \
+  --teleop.port=/dev/tty.usbmodem… \
+  --teleop.id=my_leader_arm
Operation
Start teleoperation
Start the robot-side host process on the Pi, then launch teleoperation from your computer. Begin with low-risk movements and confirm base directions before working around people or objects.
On the Pi
python -m lerobot.robots.lekiwi.lekiwi_host --robot.id=my_kiwiOn your computer
python examples/lekiwi/teleoperate.pyLearning workflow
Record a dataset
Sign in to Hugging Face before recording if you want the dataset uploaded to your account. Start with a consistent task, fixed cameras, visible objects, and repeatable motions. Build variation gradually only after you can record clean, usable episodes.
hf auth login --token ${HUGGINGFACE_TOKEN} --add-to-git-credential
python examples/lekiwi/record.pyReplay and evaluate
Use replay to confirm a recorded episode behaves as expected. Once you have trained a policy, use the evaluation example with the correct Pi address, port, and model reference.
Replay an episode
python examples/lekiwi/replay.pyEvaluate a policy
python examples/lekiwi/evaluate.pyFurther help
Use the current official documentation
LeRobot evolves quickly. For command arguments, supported versions, troubleshooting, and training guidance, use the official LeKiwi documentation as the source of truth.